
This puff pastry dough is the ultimate shortcut to classic puff pastry recipe.
While traditional puff pastry requires half a day of your life: roll, fold, chill, repeat six times while you babysit a block of butter, THIS puff pastry only needs frozen butter and 7-minutes of hands-on time.
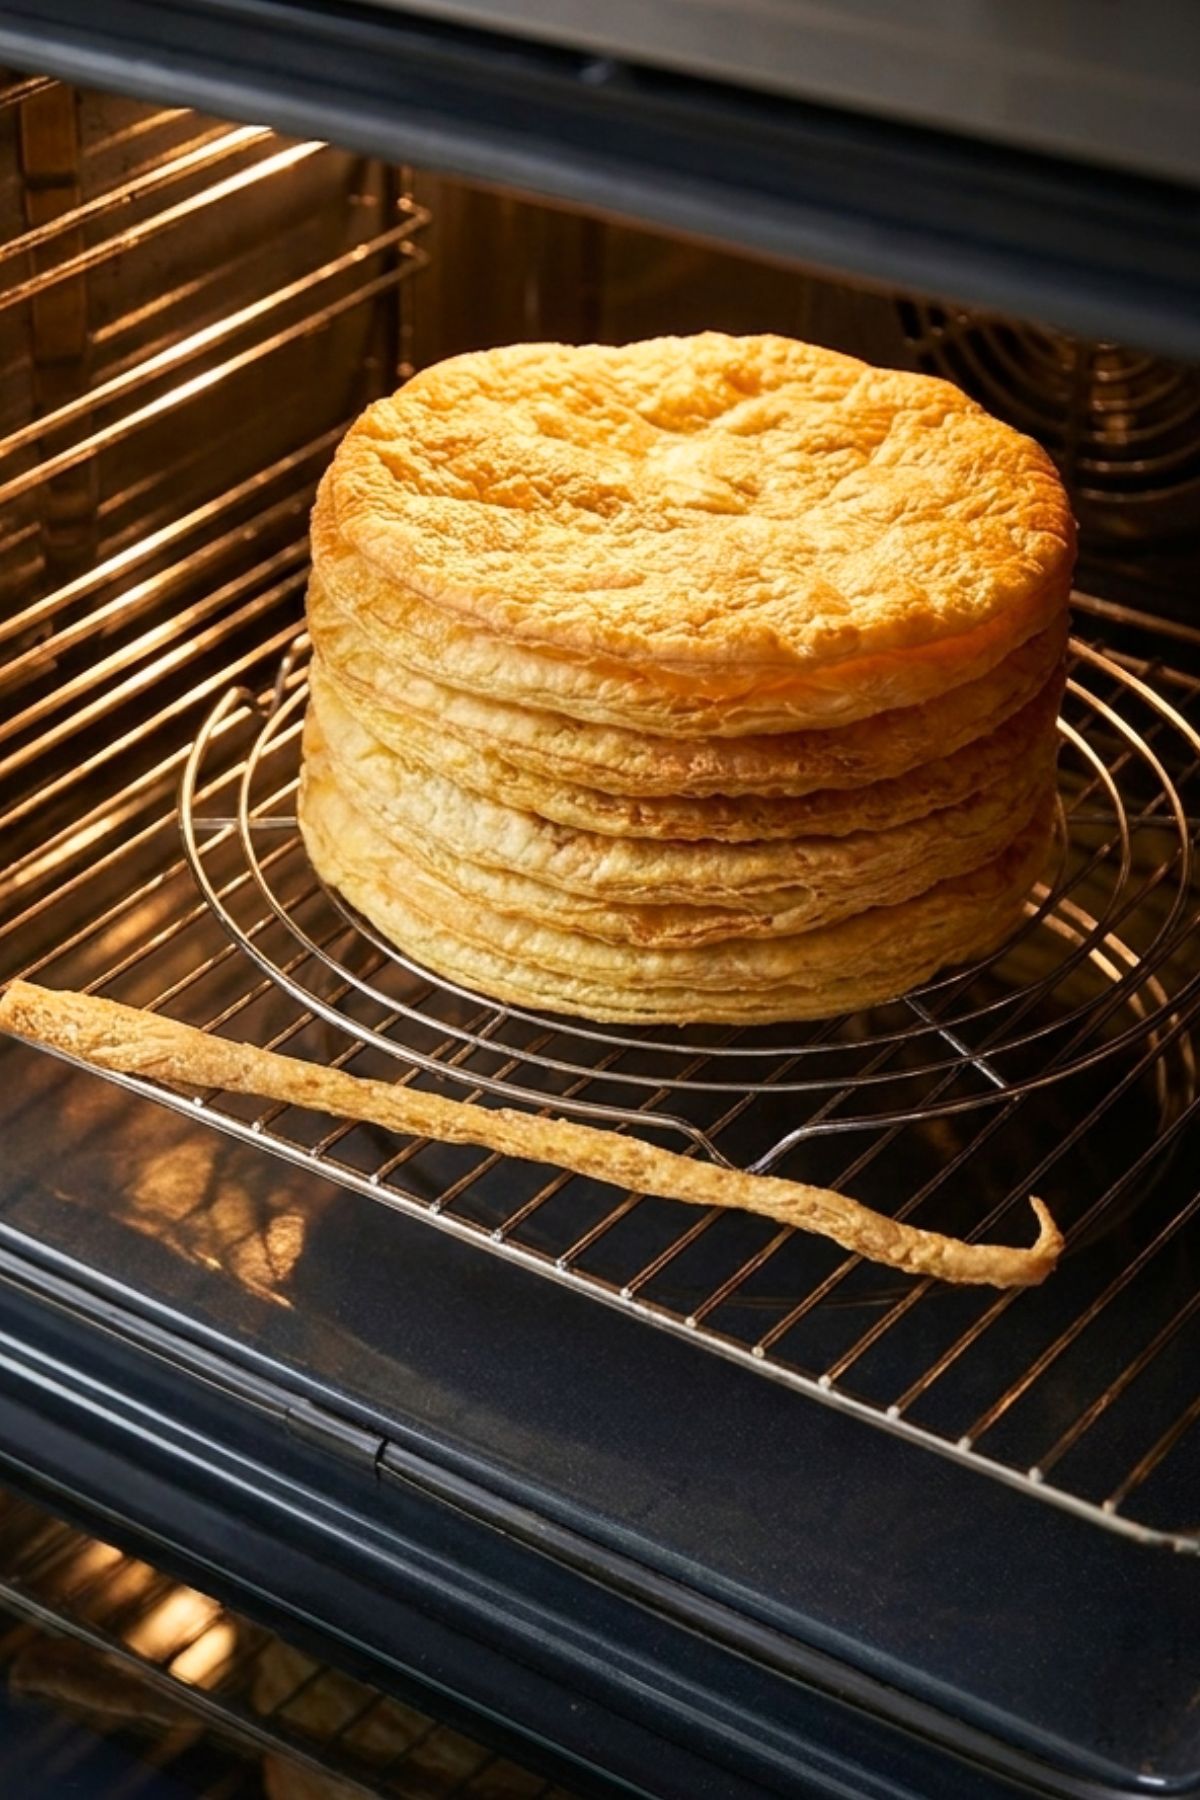
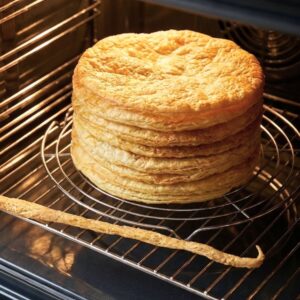
Two quick letter folds, a rest in the fridge, and you have real, flaky, puffed-in-the-oven pastry — the kind that shatters when you bite into it, that's why I call it Magic Puff Pastry.
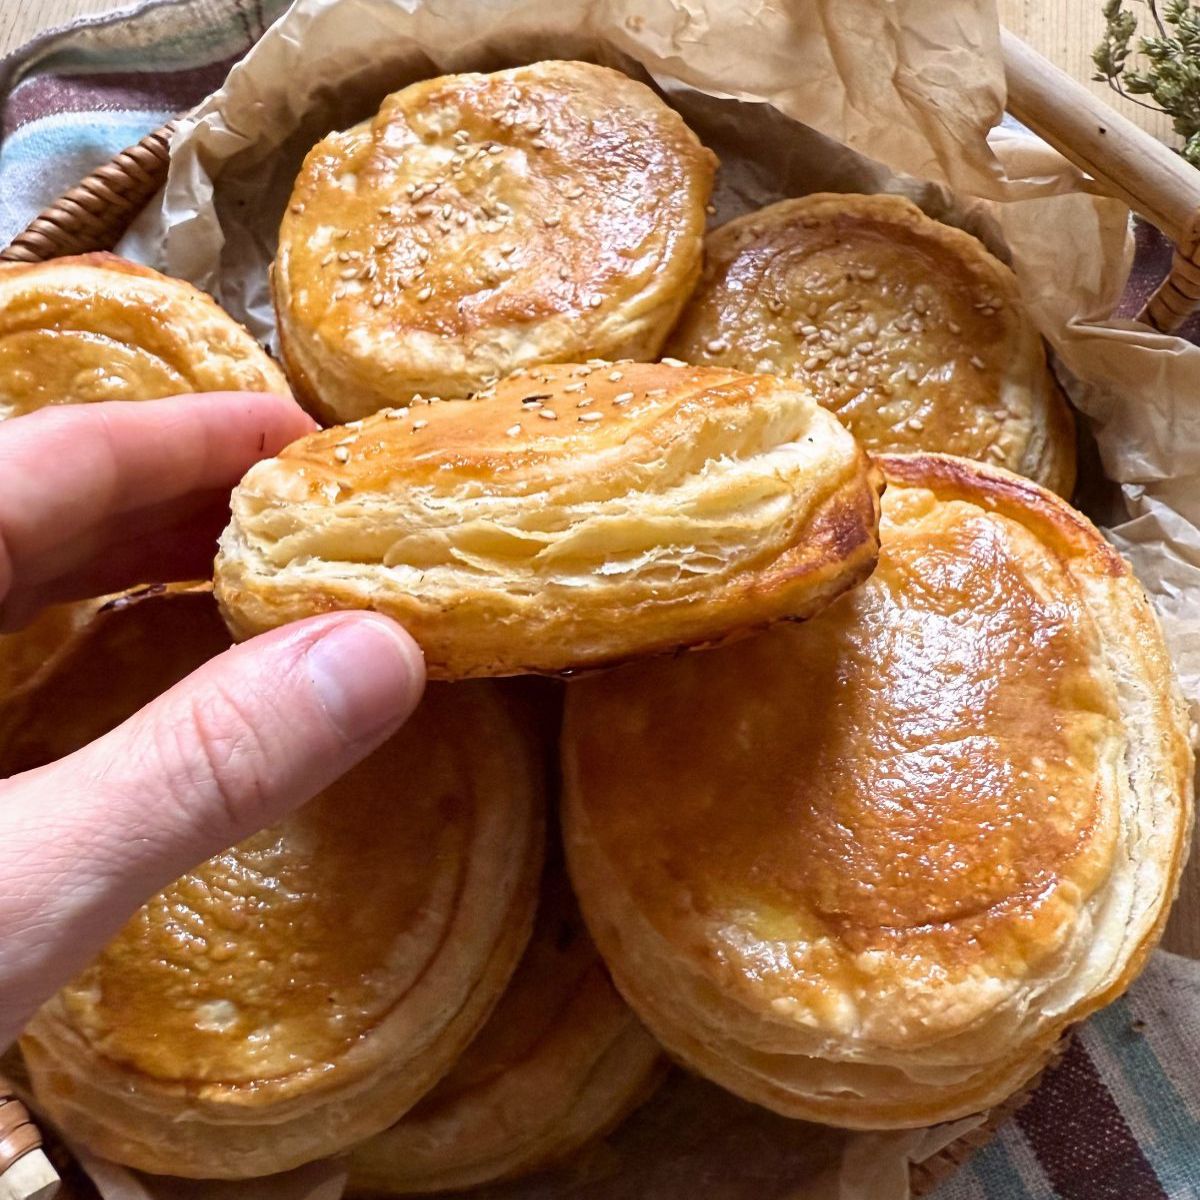
This is what I use to my famous millefoglie cake, pizzette from Cagliari (also known as breakfast pizzette), rustic summer plum pie and anything in between!
Table Of Contents
Homemade Puff Pastry: What's So Special?
Rough puff (or quick puff) pastry uses the same ingredients as the classic version: flour, butter, water, salt but skips the butter block. Instead of encasing a slab of butter in dough and folding it into hundreds of layers, you distribute cold butter through the dough in pieces and let a couple of folds organize those pieces into rough layers.
- No butter block, no laminating. Classic puff pastry means six rounds of rolling, folding, and chilling. This version needs two quick folds — the grated frozen butter does the layering work.
- Ready in less than 2 hours, mostly hands-off. About 7 minutes of actual work; the rest is the dough resting in the fridge while you do something else.
- Real flake, real puff. This isn't a pie crust pretending to be puff pastry. It rises, it shatters, it separates into visible layers in the oven.
- Beats anything from the freezer aisle. All butter, no palm oil, no mystery margarine — you'll feel the flavor difference shows in the first bite.
- Works for sweet and savory. No sugar in the dough, so the same batch covers tarts, pizzette, turnovers, cheese straws, and palmiers.
- Freezes beautifully. Make a double batch, freeze half, and you'll always have proper puff pastry ready to thaw.
Ingredients & Notes
See the recipe card for full information on ingredients and quantities.
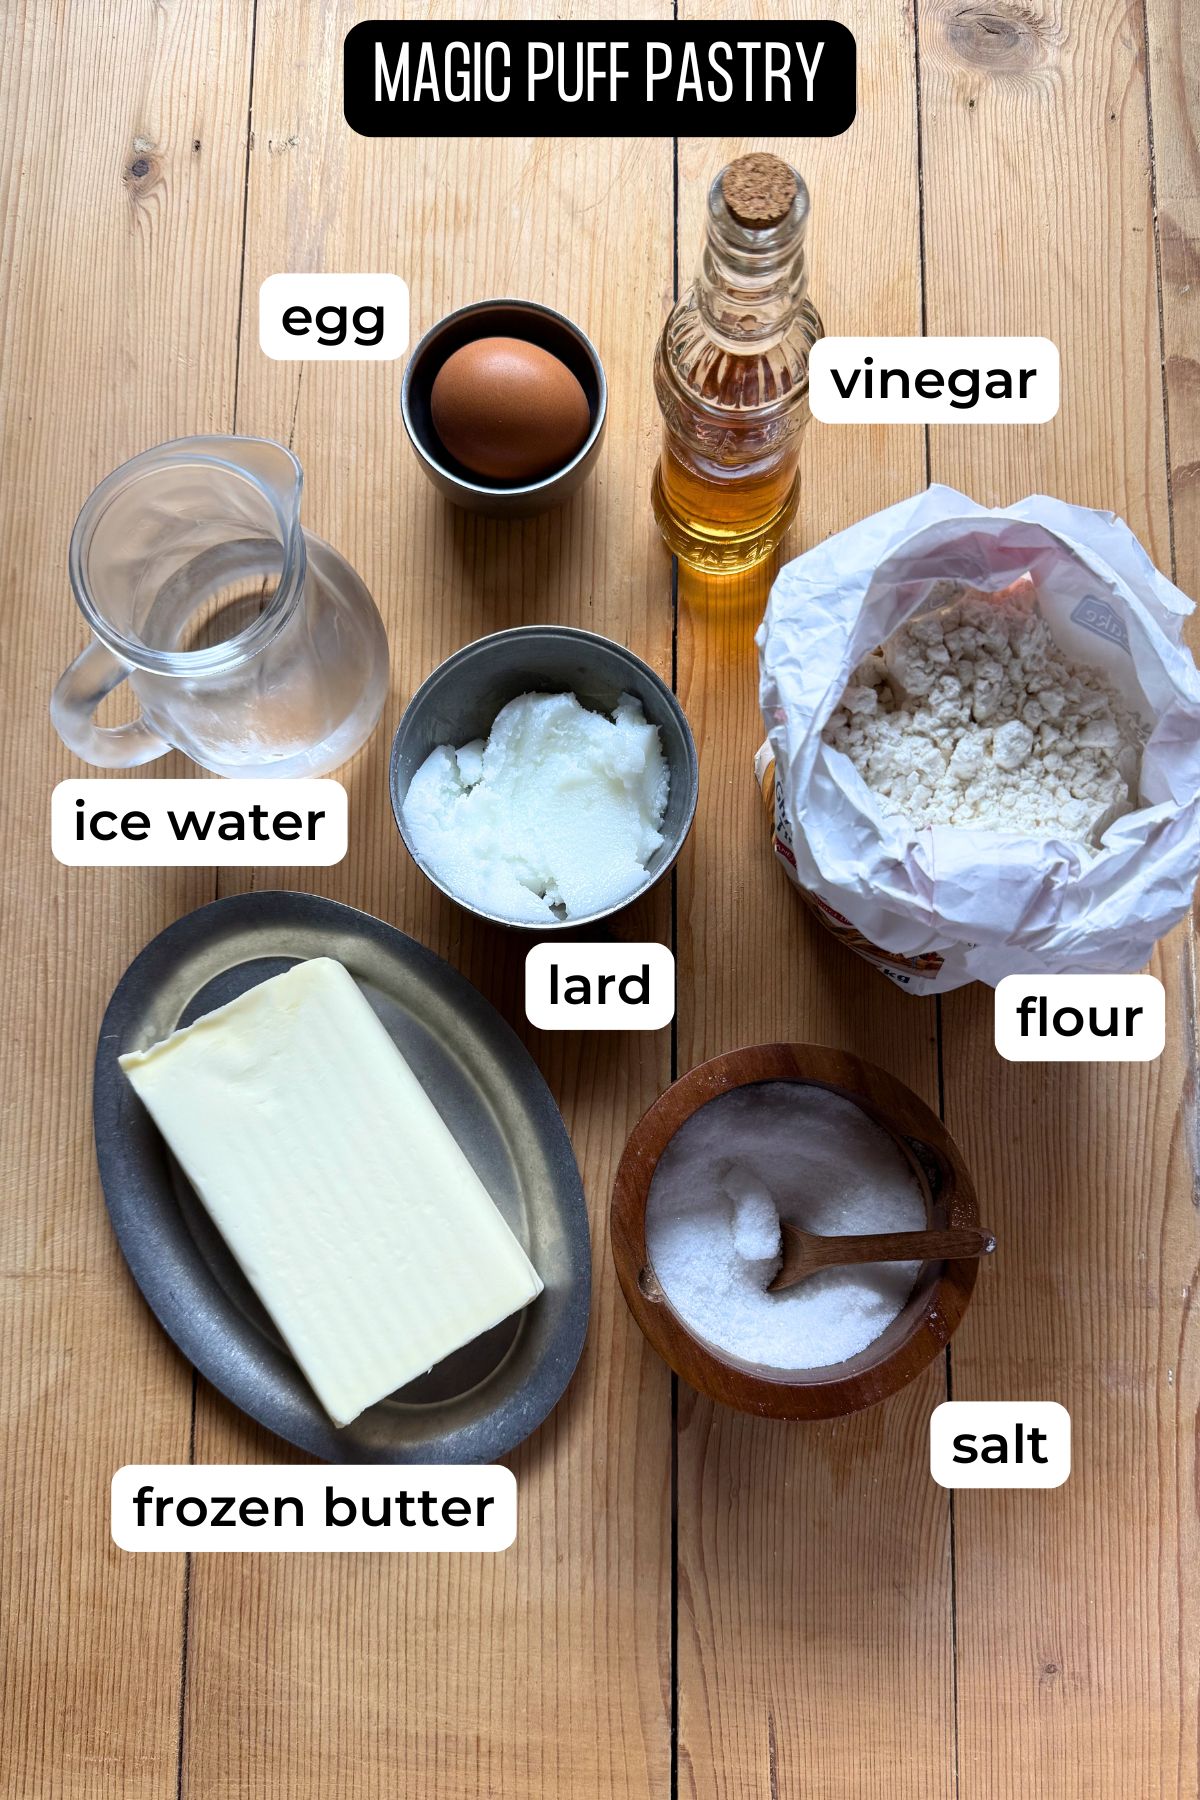
- Butter: Use the highest fat content you can find (82%+, European-style). American standard butter (80%) works but contains more water, which means slightly less puff and a stickier dough. Freeze it solid — at least 2 hours, ideally overnight.
- Lard: Cold from the fridge, rubbed into the flour gives extra flakiness and subtle depth of flavor that all-butter version doesn't have. If lard isn't your thing, swap it for the same amount of butter. The recipe works either way; it's just a little less interesting.
- Flour: Plain all-purpose flour, preferably unbleached.
- Water: Genuinely ice-cold. Put a glass in the freezer 15 minutes before you start.
- Vinegar: White wine vinegar or plain white vinegar.
- Egg: One whole egg, beaten into the water. It enriches the dough and gives extra puff in the oven.
How to Use This Puff Pastry
Puff pastry is one of the most versatile doughs in the kitchen — it works equally well for sweet and savory recipes.
Sweet Uses
Puff pastry is the base for some of the most beloved Italian pastries and desserts:
- Crostate and tarts – line a tart pan with puff pastry, blind bake, and fill with pastry cream and fresh fruit.
- Palmiers – roll the dough with sugar and cinnamon, fold, slice and bake for crispy, caramelized cookies in minutes like my Cinnamon Pastry Hearts.
- Turnovers (fagottini) – fold squares of dough over a spoonful of jam, Nutella, or sweetened ricotta. Seal the edges, egg wash, and bake.
- Cream horns (cannoncini) – wrap strips of dough around metal cone molds, bake until golden, and fill with whipped cream or pastry cream.
Savory Uses
On the savory side, puff pastry is just as versatile and makes for an effortless appetizer or main:
- Cheese and herb twists – cut the dough into strips, brush with olive oil, sprinkle with grated Parmesan and rosemary, twist and bake. Perfect for aperitivo.
- Pizzette from Cagliari and small savory bites.
- Savory tarts – use it a base for Torta Salata or simply top a sheet of puff pastry with caramelized onions, olives, cherry tomatoes, or thinly sliced zucchini. Bake until the edges are puffed and golden.
- Puff pastry pockets – fill squares of dough with mozzarella and prosciutto, or spinach and ricotta. Seal, egg wash, and bake until deeply golden.
- Vol-au-vents – cut circles, bake, and fill with mushroom ragù, béchamel, or seafood for an elegant starter.
Top Tips - Don't Miss!
- Use frozen butter and ice-water. Frozen butter and ice-water help keep the butter in visible chunks throughout the dough. Those chunks are exactly what create the layers in the puff pastry. If your butter is too soft it will blend into the flour instead of staying separate, and you'll lose the flakiness.
Use everything cold. If it's your first time making puff pastry or if your kitchen is warm - put ALL ingredients in the fridge before starting the dough. Yes, flour included - Don't overwork the dough. When you first bring the dough together it will look rough, shaggy and uneven — and that is exactly how it should look. Resist the urge to knead it smooth. Overworking develops gluten and melts the butter, both of which will make your pastry tough and flat rather than flaky and puffed.
- Keep everything cold as you work. If at any point the dough starts to feel soft, greasy or sticky, stop. Wrap it in plastic wrap and rest it in the fridge for 15–20 minutes before continuing. This is not a setback — it's part of the process.
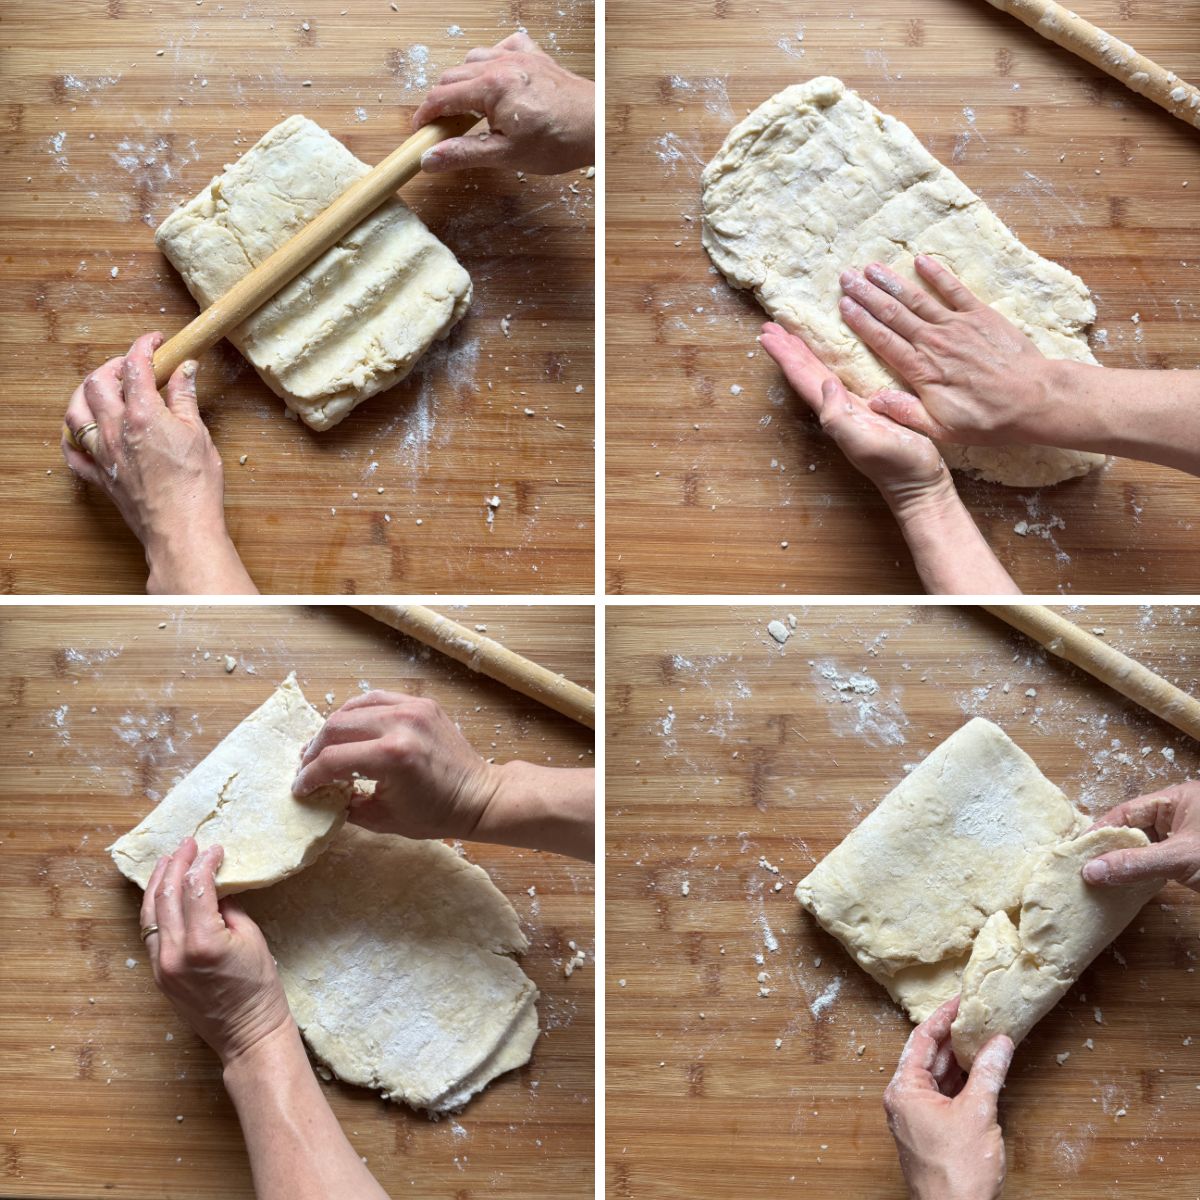
- Roll correctly. Start by pressing the dough with a rolling pin to flatten it out. Flip and repeat the process. Only once the dough is about ¼ inch (7 millimiters thick) roll with a rolling motion rotating the dough rather than rolling back and forth.
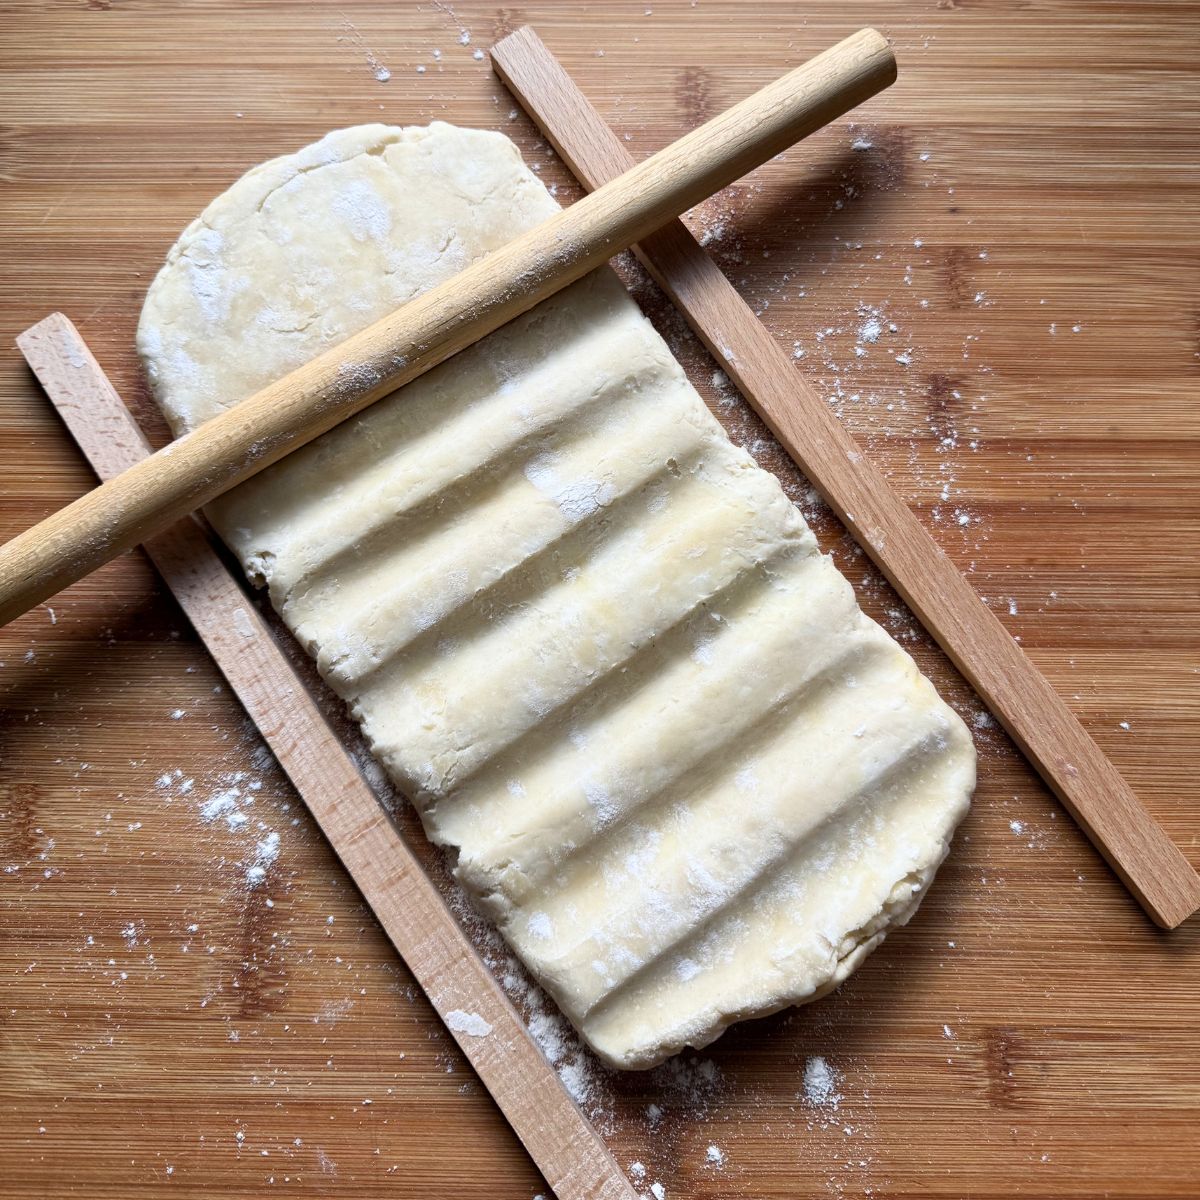
- Aim for an even thickness throughout. Usually about 3-4 mm for most recipes. Use rolling pin guides to roll the finished dough. Start from the thickest guide and work to the desired thickness, usually 3-4 millimiters (⅛ of an inch). This will ensure even baking and perfect puff in the oven.
- Dust with little flour. Use as little flour as possible on the work surface. A light dusting is all you need.
- Always use a sharp knife, pizza cutter, or pastry cutter to cut puff pastry. A dull blade drags and compresses the layers at the edges, preventing the dough from rising properly. For the same reason, cut straight down — do not drag or saw.
PAY ATTENTION: If you're cutting shapes and sealing edges (like for turnovers or pockets), avoid getting egg wash or filling on the cut edges. This will glue the layers together and prevent them from puffing up. - Make a big batch and freeze it in portions.
- Thaw in the fridge — never at room temperature.
Storage and Make-Ahead
The finished dough will keep in the fridge for 2–3 days, tightly wrapped in plastic wrap. For longer storage, place the wrapped dough in a freezer bag and freeze for up to 3 months. When you're ready to use it, thaw it overnight in the fridge — never at room temperature.
TOP TIP: Make a big batch and freeze it in portions. After the final rest, roll the dough out and divide it into individual sheets — no need to roll it thin at this stage. Anything above ¼ inch (6 mm) is fine, since you'll do the final roll right before using. Wrap each piece in plastic wrap or place in a zip-lock bag and freeze. When you need it, transfer a portion to the fridge and let it thaw for a few hours, then roll it out to the desired thickness and use as needed.
FAQs
Vinegar makes puff pastry even more flaky and tender. It all makes the dough more pliable and easy to roll.
Yes, you can use a food processor for mixing in the lard and later the liquid mixture. Do it quick just until the dough comes to a rough ball. Do NOT use the food processor to cut the frozen butter but a box grater or a mandoline.
Stop, put everything — butter, grated shavings, even the bowl of flour — in the freezer for 10–15 minutes, then continue. Softened butter smears into the flour instead of staying in distinct pieces, and distinct pieces are what create the layers.
Recipes Using Puff Pastry
These are some of my favorite recipes that I make with my puff pastry.
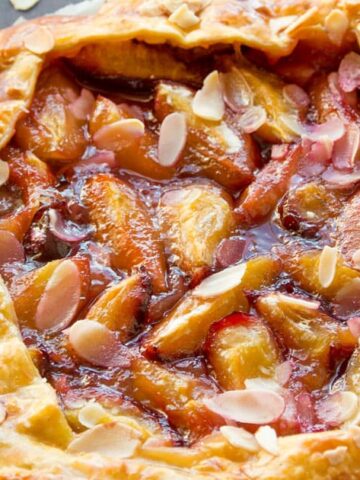
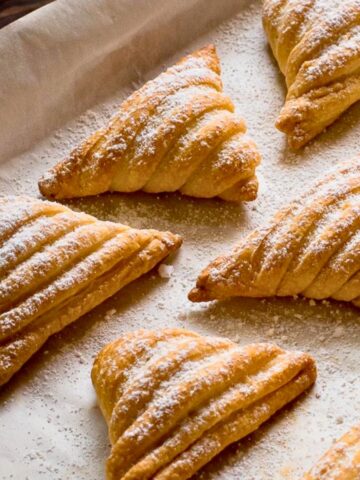
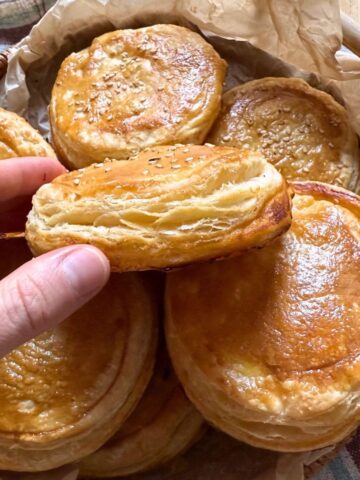

Love Italian Food?
Sign up for our weekly newsletter to receive tips, tricks and new recipes delivered straight to your inbox!
Full Recipe
Magic Puff Pastry Dough
Ingredients
Dry ingredients:
- 420 g all-purpose flour , 15 oz / about 3⅓ cups
- 60 g lard , 2 oz - cold from the fridge. Substitute with the same amount of butter if needed
- 1 teaspoon salt
- 250 g butter , frozen solid (about 9 oz)
Liquid mixture
- 1 egg
- 125 ml ice-cold water , ½ cup
- 1 tablespoon white vinegar
Instructions
Make the dough:
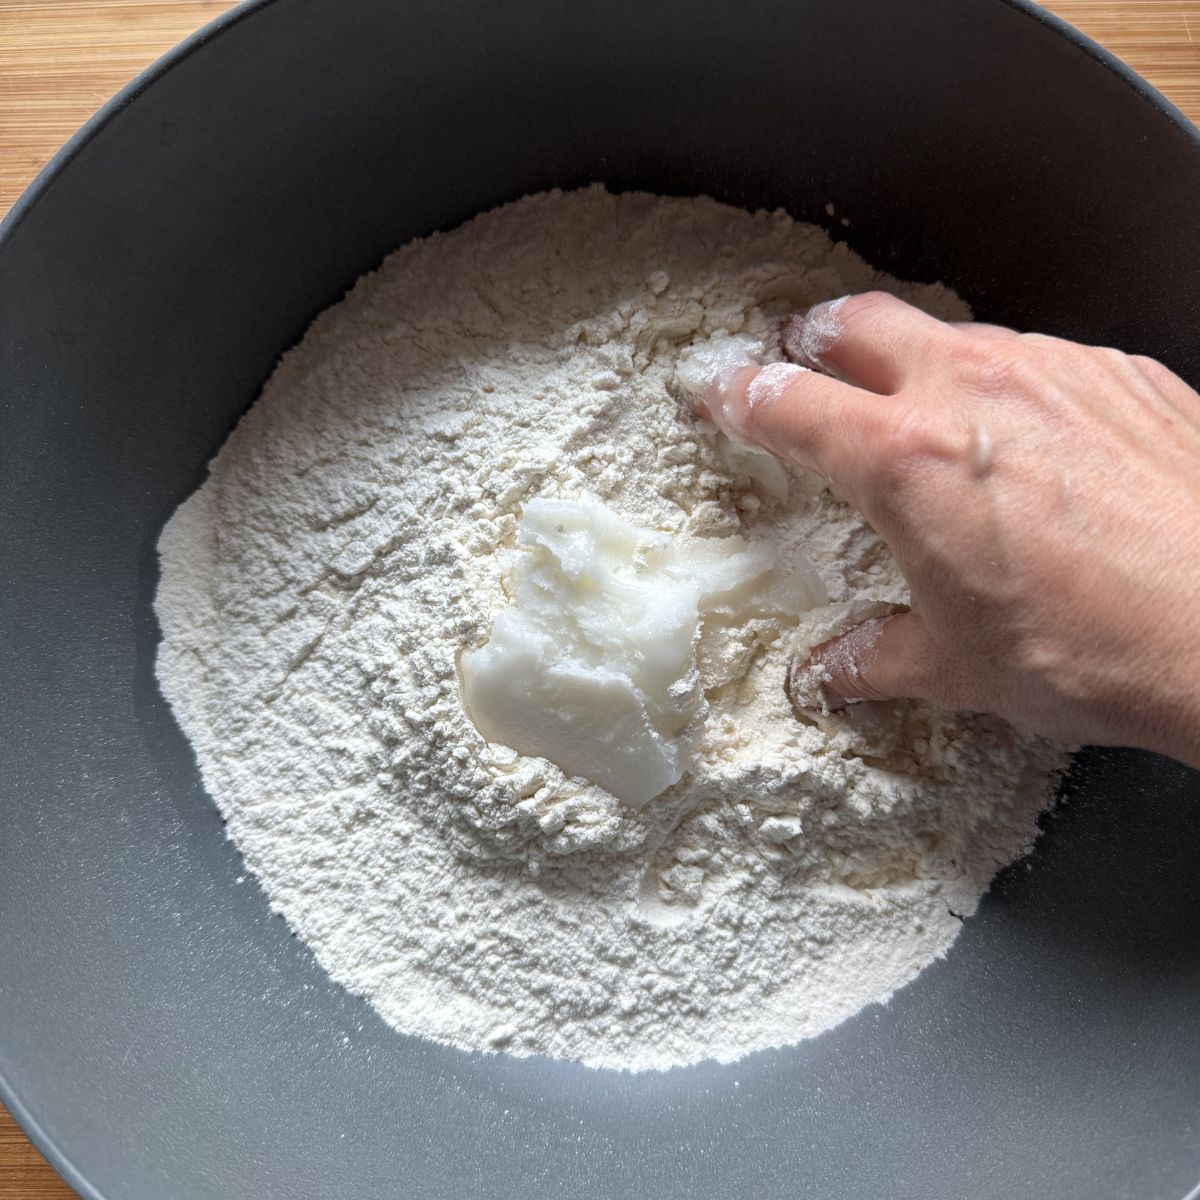
- Sift the flour into a large bowl or directly onto your work surface.Add the lard and rub it into the flour with your fingertips until no large pieces remain.

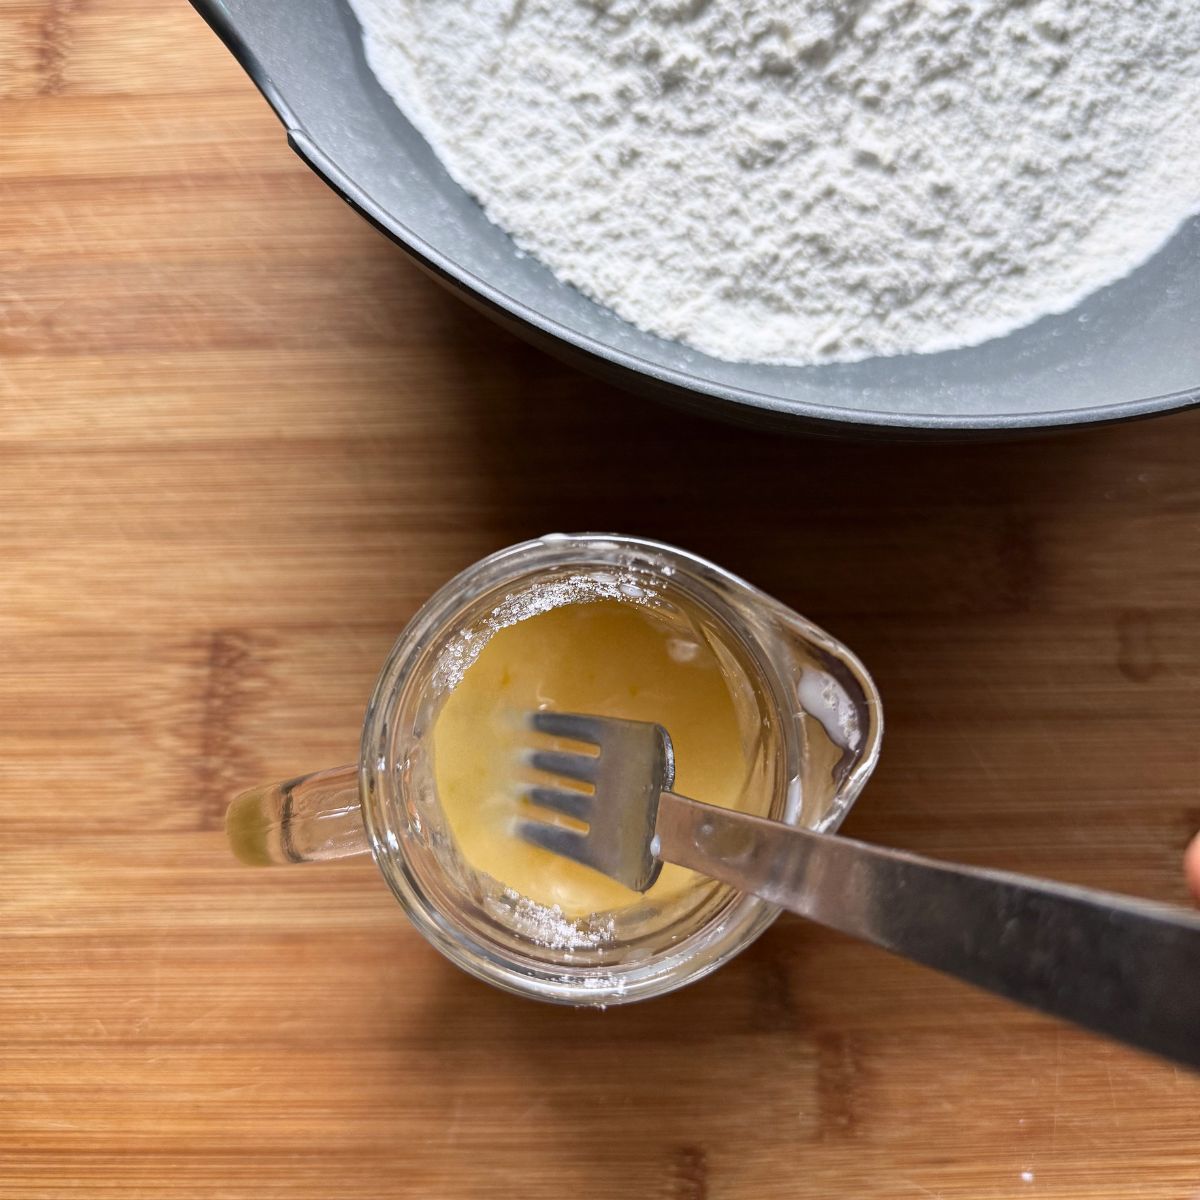
- In a small bowl, lightly beat the egg with the ice-cold water, vinegar, and salt. Keep it in the fridge while you grate the butter.
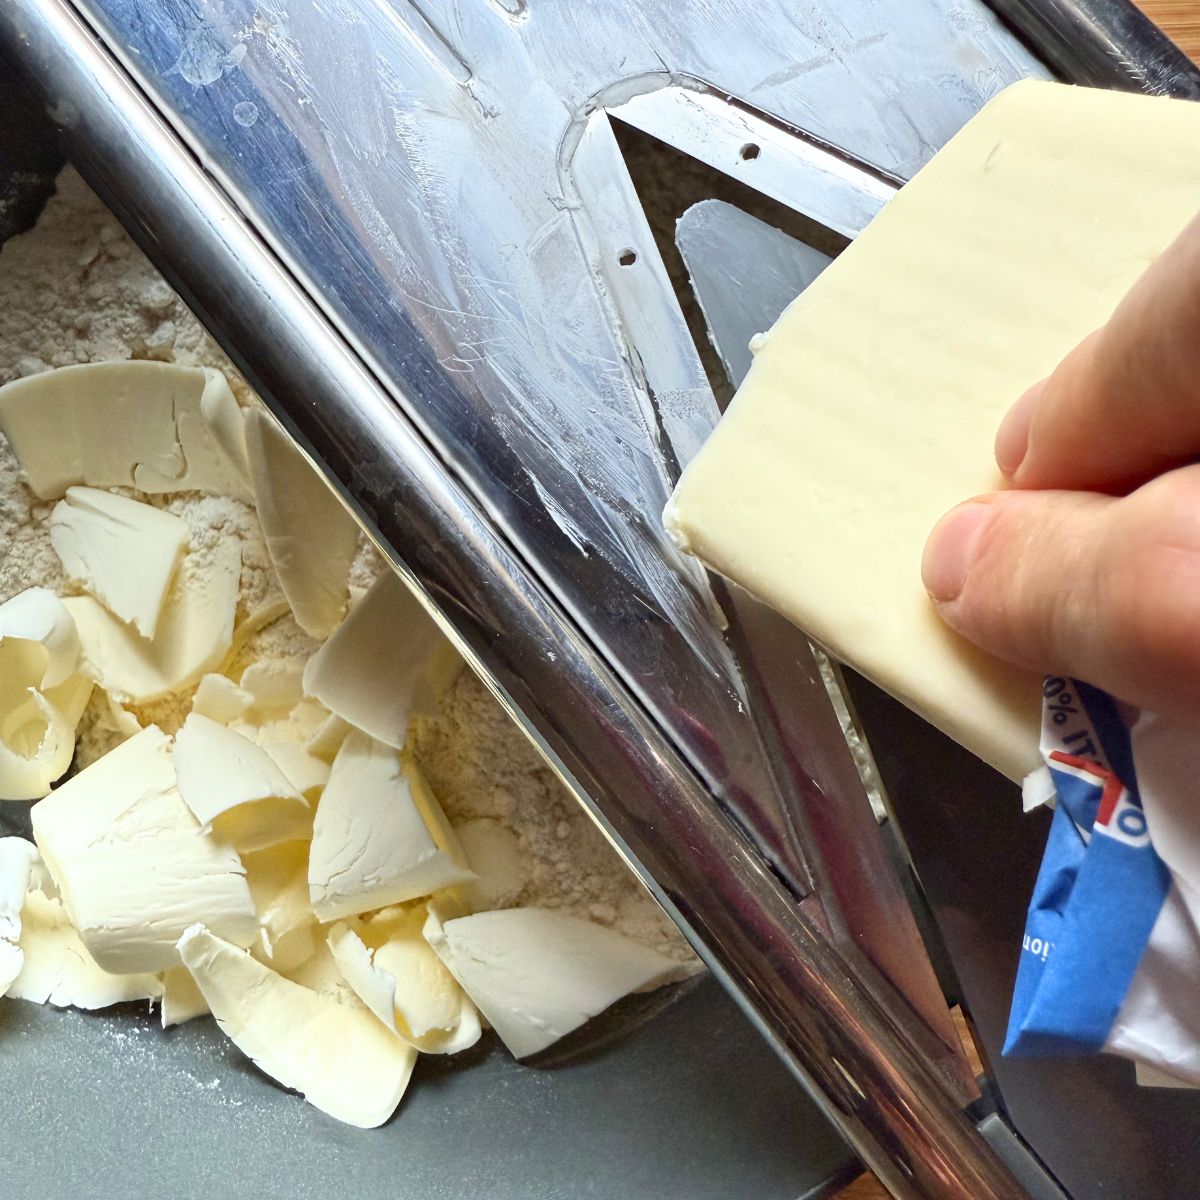
- Shave/ Grate the frozen butter on a mandoline set to medium thickness (2.5 mm / about ⅛ inch), or use the large holes of a box grater. Work quickly so the butter stays frozen.
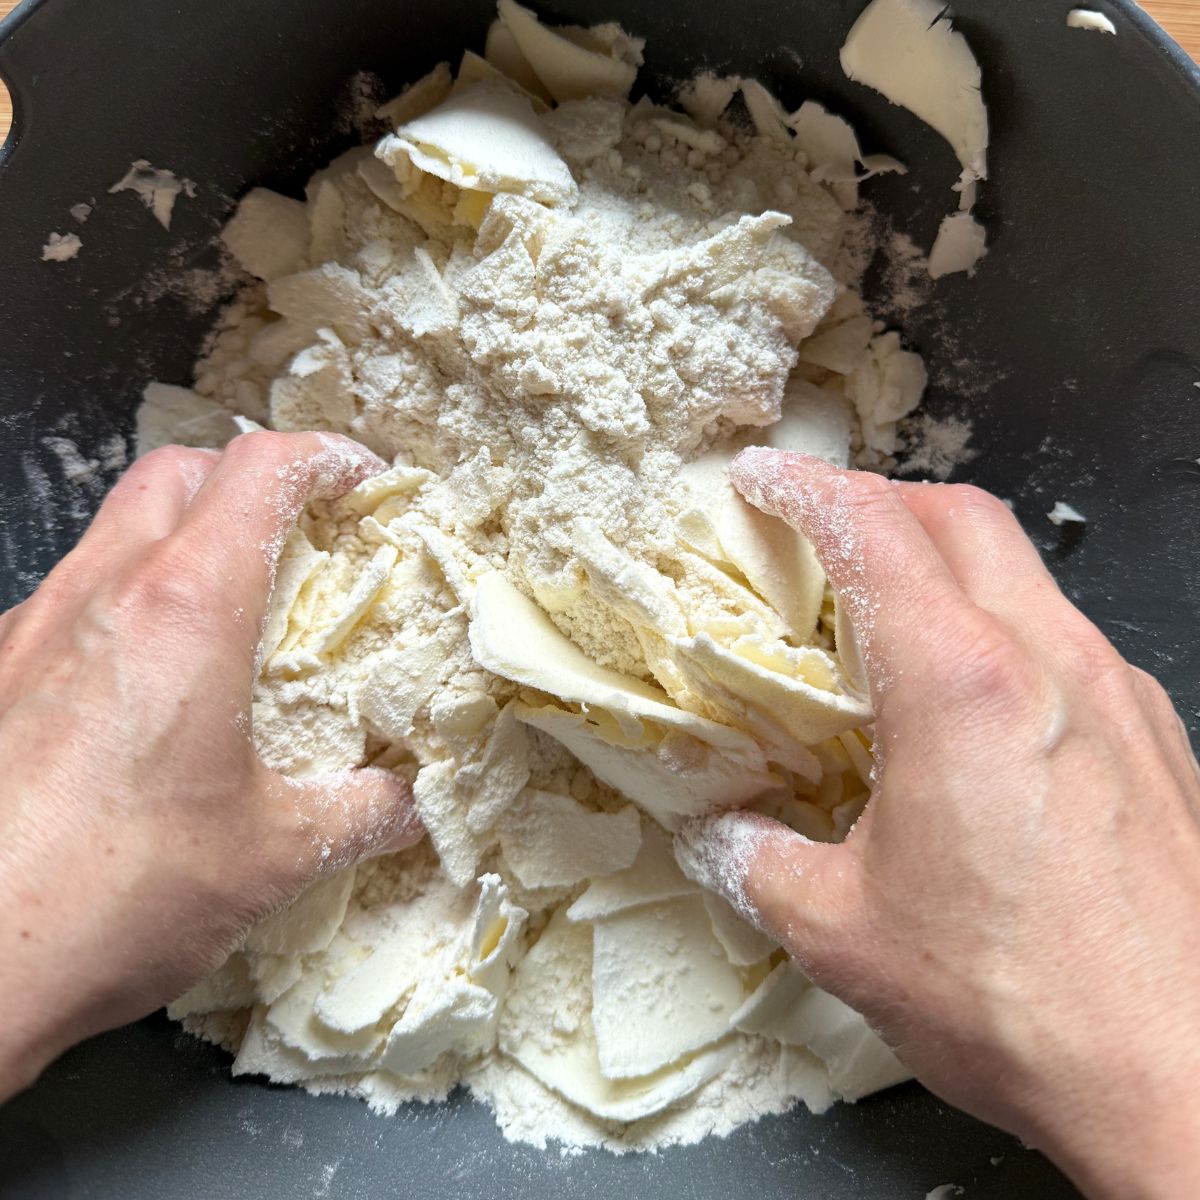
- Add the butter shavings to the flour and toss roughly, just enough to coat the butter shavings in flour. Break up only the biggest clumps — visible pieces of butter are exactly what you want.
- Pour in the egg mixture and mix quickly with a Danish dough whisk or a fork.
- Press and compact the dough just until it comes together into a rough log. Do not knead — it should look shaggy, not smooth.
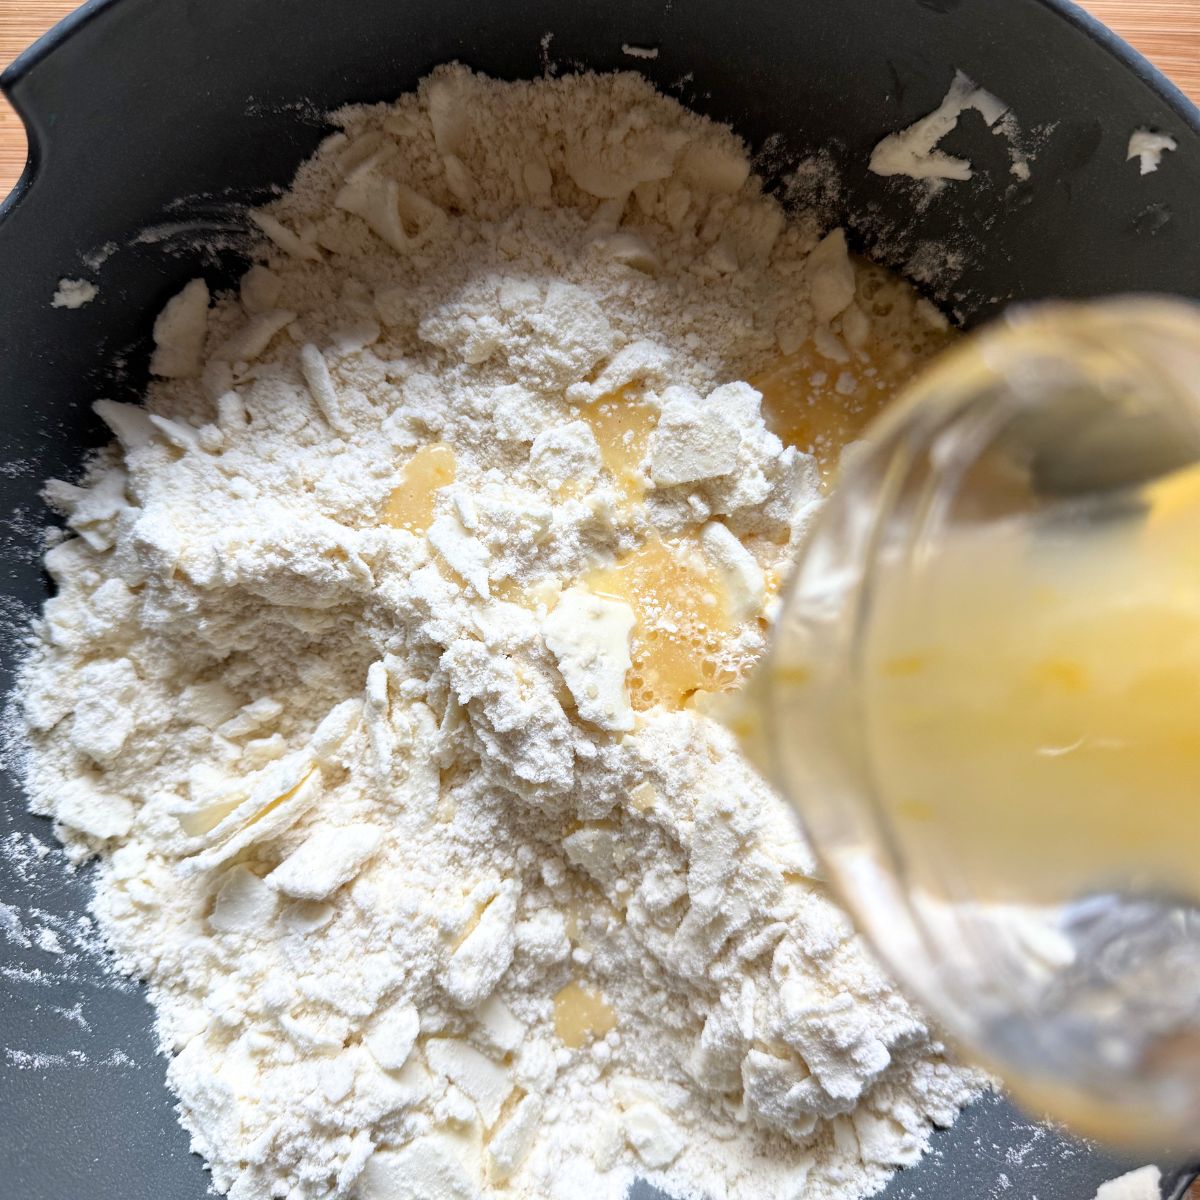
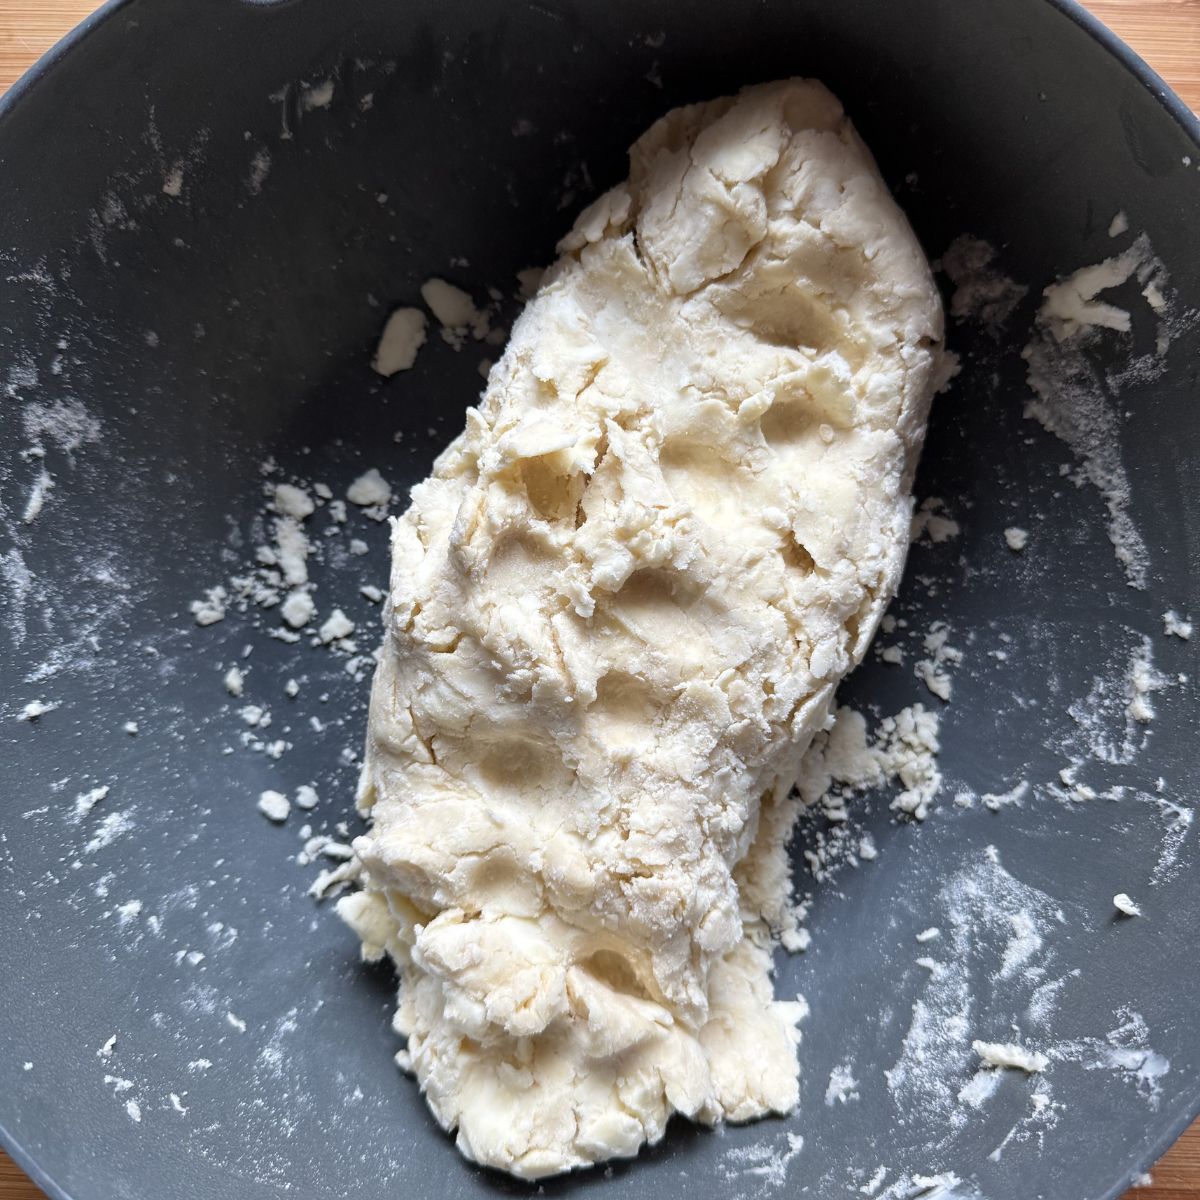
First fold:
- Lightly dust worrk-surface with flour. Press the rough dough log with a rolling pin to flatten it, then roll it into a rectangle. It doesn't have to be perfect. You should get a rectangle about 15 cm (6 inch) wide and 35-40 cm (13-15 inches) long.Apply even, gentle pressure — don't press down too hard or you'll crush the layers you worked so hard to build.
- Visually divide the rectangle into thirds. Fold the top third down, then fold the bottom third over it, like folding a letter.
- Slip the dough into a plastic bag and rest in the fridge for at least 30 minutes.
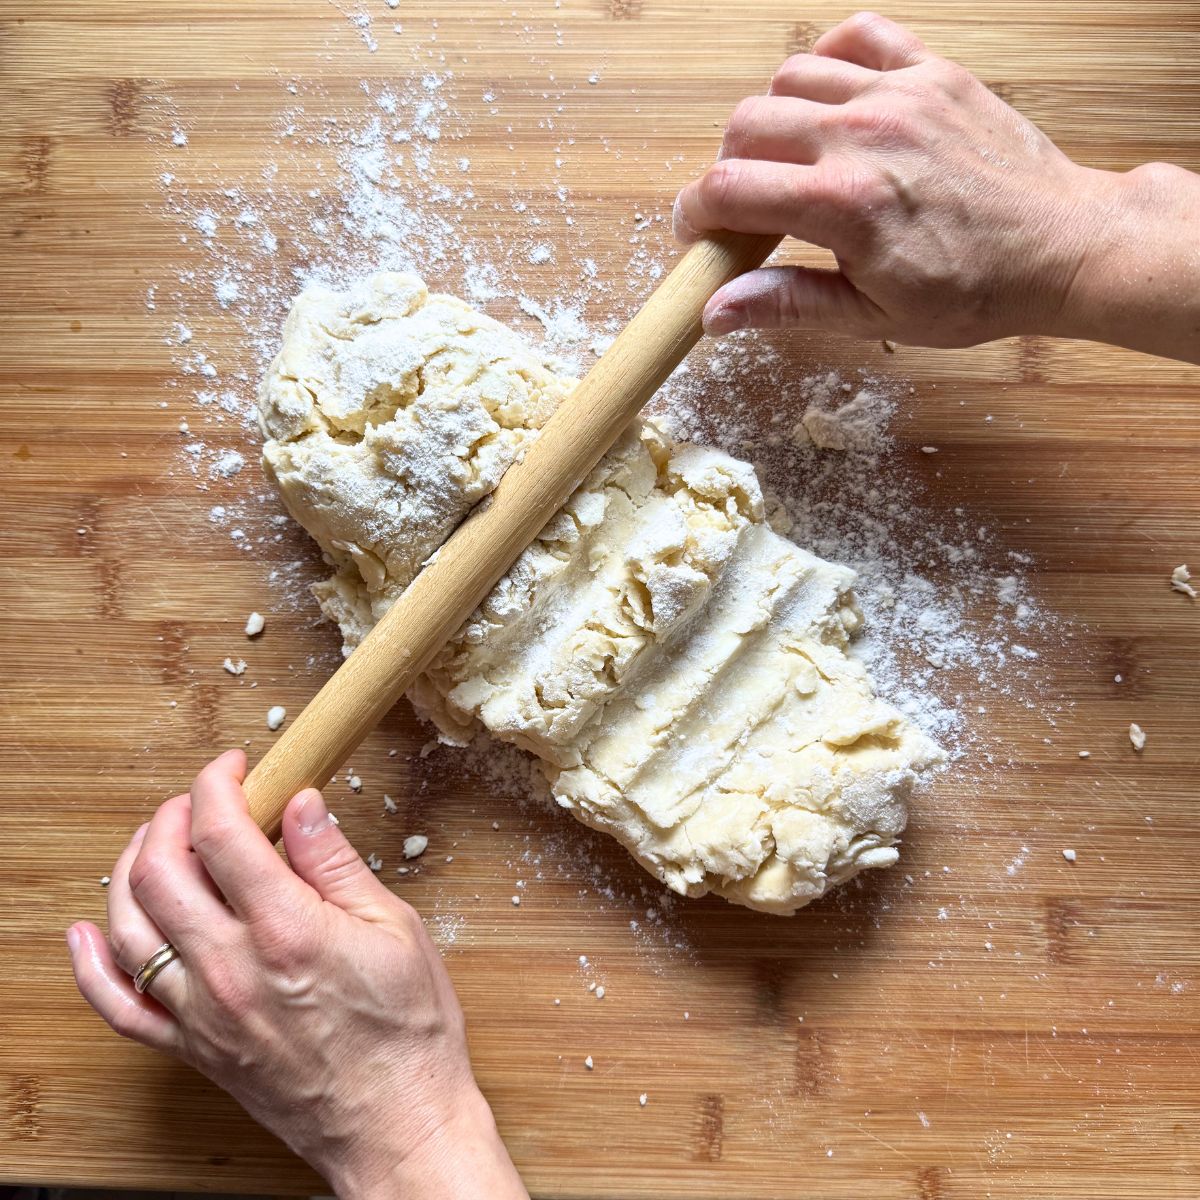
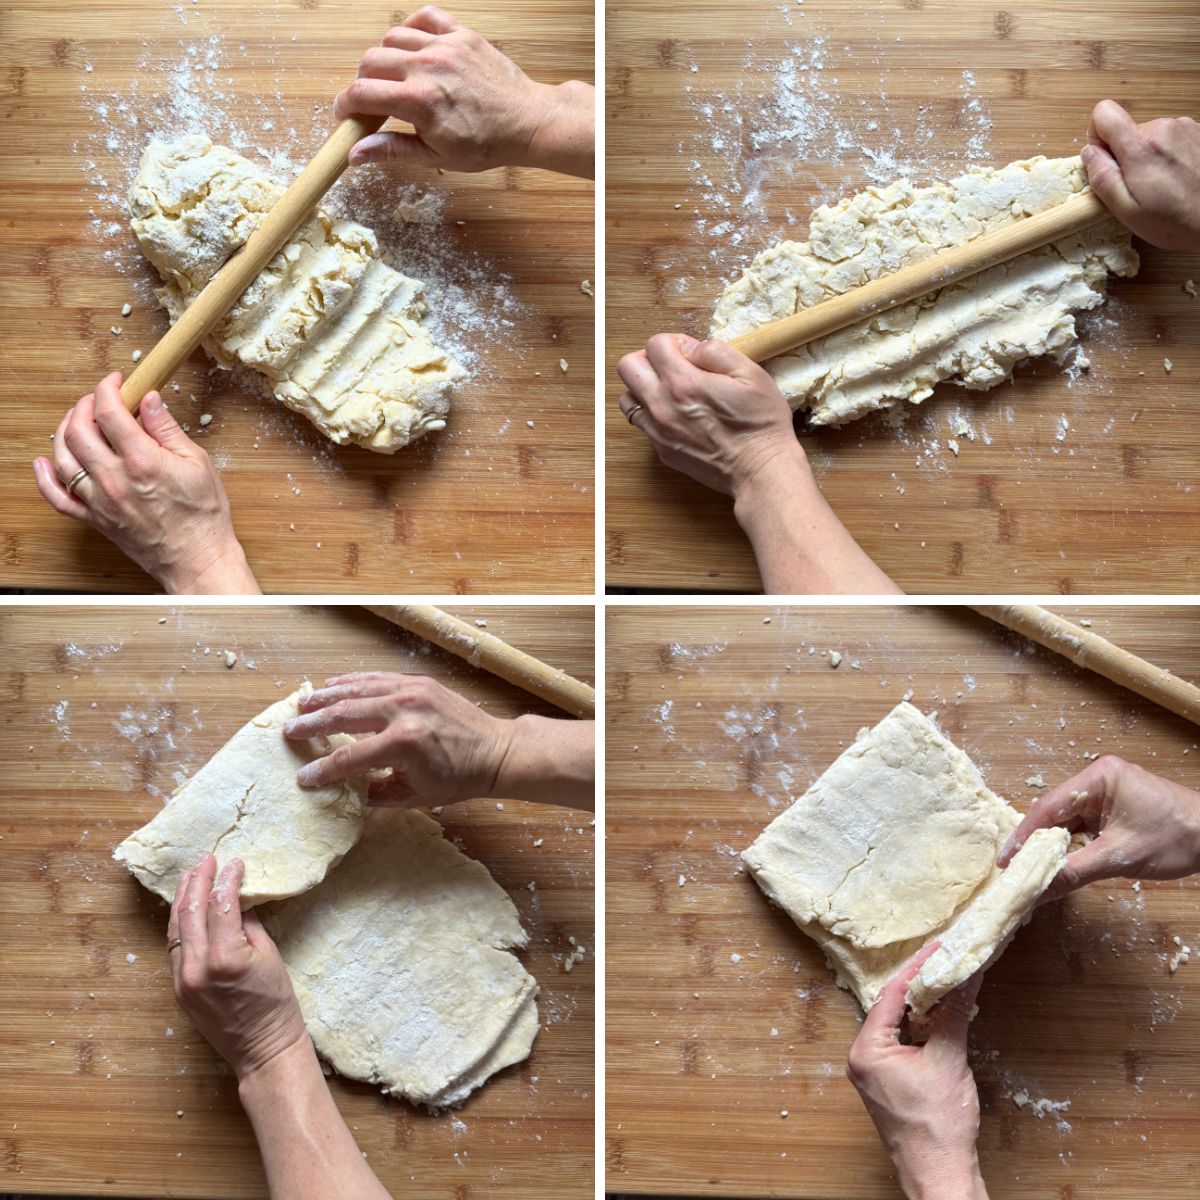
Second fold and final use
- Rotate the dough so that the side-openings are now at the top and bottom. Roll the dough into a rectangle again and repeat the letter fold. This time, use your hands to tuck in the sides and square off the edges for a neater shape.
- Return the dough to the fridge for 1 hour. After that, it's ready to roll out and use.
- Use rolling pin guides to roll the finished dough. Start from the thickest guide and work to the desired thickness, usually 3-4 millimiters (⅛ of an inch). This will ensure even baking and perfect puff in the oven.
Notes
Nutrition
Nutrition information is automatically calculated, so should only be used as an approximation.


Judith Drew says
What is a rolling pin guide, is there a substitute?
Svitlana says
Hi Judith, this is the kind I use. They come handy for puff pastry, shortcrust, and pie dough so a little investment will be well used. A DIY option I can think of is chopsticks placed on both sides of the dough just like the wooden dowels (see the pictures in the recipe). A few thick rubber bands stacked on both sides of the rolling pin can also do the trick but make it less precise.